This curriculum is designed for "Details for Interiors," an advanced study intended for individuals with a foundational understanding of interior design principles. Given the absence of a st...
From the details for interiors curriculum
TL;DR
This course dives deep into the technical and practical aspects of interior detailing, moving beyond basic design to focus on how things are actually built. You'll learn to specify materials, construction methods, and joinery with precision. Mastering these details ensures your designs are not just beautiful but also functional, durable, and achievable.
1. The Mental Model
Think of interior detailing as the instruction manual for your design. It's where you translate your aesthetic vision into concrete, buildable instructions. This ensures every component fits, functions, and stands the test of time.
2. The Core Material
Interior detailing bridges the gap between design concept and construction reality. It involves making specific decisions about materials, finishes, construction techniques, and how different elements join together. A strong understanding here minimizes errors, manages costs, and achieves your desired aesthetic and performance.
2.1 Understanding Material Properties

Photo by Pixabay on Pexels
Knowing your materials inside out is crucial. This includes their physical properties (strength, durability, acoustic performance), aesthetic qualities (texture, color, sheen), and practical considerations (maintenance, cost, availability, sustainability). For instance, specifying a particular type of wood isn't enough; you need to consider its grain, cut, finish, and how it reacts to moisture or light.
2.2 Joinery and Construction Methods

Photo by Ono Kosuki on Pexels
How things connect and are built defines their success. This involves understanding various joinery techniques for different materials (e.g., dovetail joints for wood, welding for metal, proper adhesive types), as well as construction methods (e.g., concealed vs. exposed fasteners, layering of materials, waterproofing). This knowledge helps you design details that are structurally sound and aesthetically pleasing.
2.3 Detailing Documentation
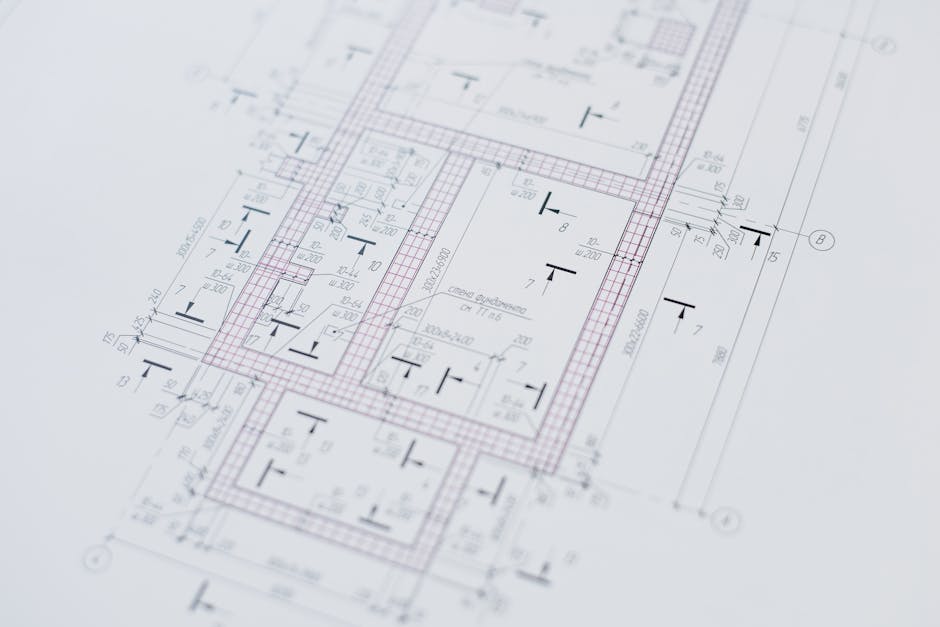
Photo by Ivan S on Pexels
The detail drawings you produce are critical for communication with fabricators and contractors. These aren't just pretty pictures; they're technical instructions. They include scaled drawings (plans, sections, elevations, and enlarged details), material specifications, schedules, and annotations. Precision is paramount to avoid misinterpretation.
Here's a simplified process flow for developing an interior detail:
graph TD
    A["Design Concept & Aesthetics"] --> B["Identify Key Detail Area"]
    B --> C{"Material Selection (Properties & Compatibility)"}
    C --> D{"Construction Method / Joinery Choice"}
    D --> E["Sketch Initial Detail"]
    E --> F["Refine with Technical Data (Dimensions, Tolerances)"]
    F --> G["Produce Detail Drawing (Scaled, Annotated)"]
    G --> H["Review & Coordinate (Structural, MEP, Cost)"]
    H --> I["Final Specification & Documentation"]
2.4 Tolerances and Clearances

Photo by Guillaume Pierre LEROY on Pexels
Understanding manufacturing and installation tolerances is vital. Nothing is ever perfectly precise. You need to design with appropriate clearances to allow for material expansion/contraction, installation adjustments, and proper functioning (e.g., doors need clearance to open). Ignoring these can lead to costly rework or functional failures.
2.5 Integrating Systems and Services
Interior details often need to accommodate hidden systems like electrical wiring, plumbing, HVAC ducts, and lighting fixtures. Your details must provide the necessary space, access, and support for these elements without compromising the design or functionality. This requires close coordination with other consultants.
3. Worked Example
Let's consider a custom built-in bookshelf that needs to appear seamless and floating.
Problem: Design a built-in bookshelf where the shelves appear to float with no visible supports, and the unit integrates into an existing wall without a bulky frame.
Detailing Approach:
- Material Selection: You choose veneered MDF for stability and a consistent finish. For the 'floating' support, you'll specify steel rods or cleats.
- Joinery/Construction:
- Shelves: Instead of traditional brackets, you detail recessed steel rods or a hidden cleat system embedded within the wall structure. The shelves themselves will have corresponding pre-drilled holes or grooves to slide onto these supports.
- Integration: You'll specify precise scribing of the back panel of the bookshelf to the existing wall for a tight, gap-free fit. The side panels will be tightly butted against adjacent walls.
- Detail Drawing: You create a section detail drawing showing:
- The wall construction (e.g., drywall on studs).
- The embedded steel rods/cleats securely fastened to the studs.
- The MDF shelf with a routed channel or drilled holes fitting precisely over the support.
- Dimensions for shelf thickness, rod diameter/cleat size, and their exact placement relative to the wall finish.
- Callouts for specific veneer finish, edge banding, and concealed fasteners.
- A tolerance of +/- 1/16" for shelf length to allow for on-site adjustment during installation.
- Coordination: You'd ensure the wall structure can support the shelf load and coordinate with the contractor for pre-installation of supports.
4. Key Takeaways
- Precision in detailing prevents expensive mistakes and ensures design intent is realized.
- Understanding material properties and their limitations is fundamental to good detailing.
- Always consider how things are built and joined; this impacts durability and aesthetics.
- Your detail drawings are legal documents; they must be clear, concise, and accurate.
- Always account for tolerances and clearances to ensure proper fit and function.
- Successful detailing requires constant coordination with other disciplines and trades.
- Think about long-term maintenance and potential future access when designing details.
Common Mistakes to Avoid:
* Ignoring structural requirements or load-bearing capacities of materials.
* Overlooking necessary clearances for moving parts or material expansion.
* Failing to specify precise connections or joining methods, leaving it to the builder.
* Creating details that are overly complex or impossible to construct cost-effectively.
* Not considering how hidden services (electrical, plumbing) will be integrated and accessed.
* Producing detail drawings that are unclear, incomplete, or not to scale.
5. Now Try It
Choose a common interior element in your home or studio—for example, a window sill, a baseboard-to-wall connection, or a specific door jamb. Sketch an enlarged detail of how these two or three components connect, including rough dimensions and material callouts. Focus on showing how they meet, any visible or concealed fasteners, and what finishes might be applied.
Success looks like: A clear, hand-drawn (or digital) sketch that communicates the assembly of these elements to someone else who needs to build it. You should be able to point to each part and explain its function and how it joins to the next.
Frequently asked about This curriculum is designed for "Details for Interiors," an advanced study intended for individuals with a foundational understanding of interior design principles. Given the absence of a st...
More from details for interiors
Get the full details for interiors curriculum
Clone the complete plan to your dashboard for unlimited AI-generated notes, practice quizzes, and a personalised revision schedule.
Save this course free