Introduction to Python and Google Colab Basics
From the https://youtu.be/1_ZFWFFoPu8?si=YB9WaNXdbe0__Zz5 curriculum
Introduction to Python and Google Colab Basics
TL;DR
You'll learn what Python is and why it's so popular for data science. Then, you'll discover Google Colab, a free online tool that lets you write and run Python code right in your web browser. We'll cover Colab's basic interface and how to execute your first Python commands.
1. The Mental Model
Think of Python as a versatile language you use to give instructions to a computer. Google Colab is like a special, free notebook where you can write those instructions and see the computer follow them instantly. It's a convenient way to experiment with code without installing anything.
2. The Core Material
What is Python?
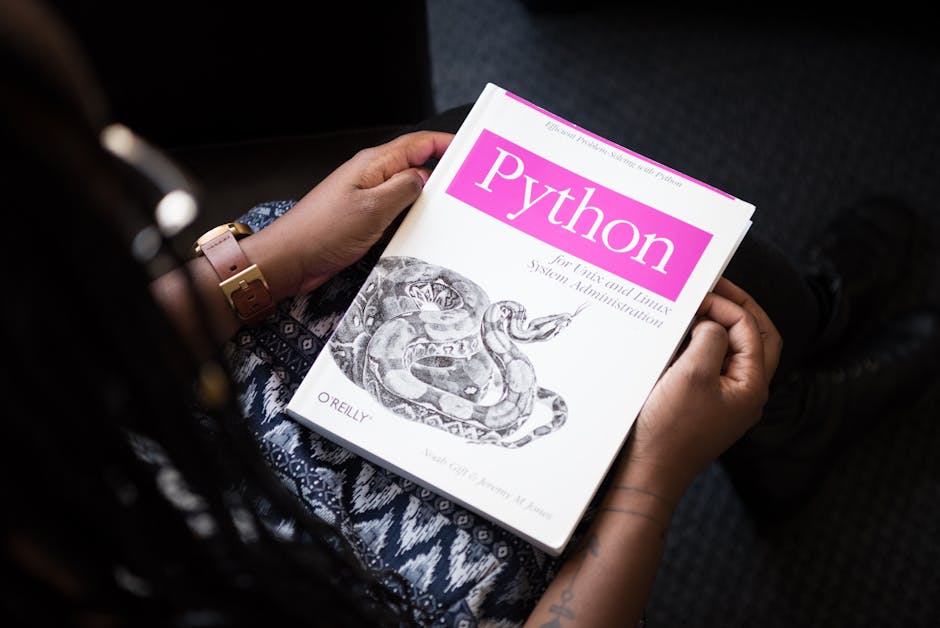
Photo by Christina Morillo on Pexels
Python is a widely used, high-level programming language. It's known for its readability and simplicity, making it great for beginners. It's used in web development, software engineering, automation, and especially in data science, machine learning, and artificial intelligence because of its rich ecosystem of libraries.
What is Google Colab?

Photo by Christina Morillo on Pexels
Google Colaboratory (Colab) is a free cloud-based Jupyter notebook environment that runs entirely in your browser. It means you can write and execute Python code without any setup on your computer. Colab also provides access to powerful hardware like GPUs and TPUs for free, which is super useful for machine learning tasks. Your notebooks are saved in Google Drive.
Here's how a typical Colab workflow goes:
graph TD
    A["Open Browser"] --> B["Go to Google Colab"]
    B --> C["Create New Notebook (or Open Existing)"]
    C --> D["Write Python Code in a Cell"]
    D --> E["Run Cell (Shift + Enter)"]
    E --> F["View Output Below Cell"]
    F --> C
Navigating Google Colab

Photo by AS Photography on Pexels
When you open a Colab notebook, you'll see "cells." There are two main types:
- Code cells: Where you write and execute Python code. You'll see an
In [ ]:prompt. - Text cells: For adding explanations, notes, and documentation using Markdown (a simple text formatting language).
To run a code cell, just click the "play" button next to it or press Shift + Enter. The output will appear directly below the cell.
Your First Python Code

Photo by Mathews Jumba on Pexels
Let's try a simple command. The print() function is used to display output on the screen.
# This is a comment. Python ignores lines starting with #.
# Use print() to display text or values.

print("Hello, Python!")
When you run this cell, you'll see:
Hello, Python!
You can also perform basic arithmetic:
print(10 + 5)
print(25 / 5)
print(7 * 3)
This will output:
15
5.0
21
Notice 25 / 5 gave 5.0. In Python 3, division with / always results in a float (a number with a decimal).
Variables
Variables are like containers where you can store data. You give them a name, and then you can refer to that data by its name.
# Assign the value 5 to a variable named 'x'
x = 5

# Assign the string "World" to a variable named 'greeting'
greeting = "World"

# Use the variables
print(x + 10)
print("Hello, " + greeting + "!")
Output:
15
Hello, World!
3. Worked Example
Let's create a small program that calculates the area of a rectangle.
- Open Colab: Go to
colab.research.google.comand create a "New notebook." - Add a Text Cell: Click
+ Textand add a title like "Rectangle Area Calculator" using Markdown (e.g.,# Rectangle Area Calculator). - Add Code Cells:
- In the first code cell, define your variables for length and width:
python length = 15.5 width = 7.0 - In a second code cell, calculate the area:
python area = length * width - In a third code cell, print the result:
python
    print("The length is:", length)
    print("The width is:", width)
    print("The area of the rectangle is:", area)
- In the first code cell, define your variables for length and width:
- Run each cell sequentially (
Shift + Enter).
You should see an output similar to this:
The length is: 15.5
The width is: 7.0
The area of the rectangle is: 108.5
4. Key Takeaways
- Python is a versatile and readable programming language, excellent for data science.
- Google Colab provides a free, browser-based environment to write and run Python code.
- Colab notebooks use "cells" for code and text, which you execute sequentially.
- The
print()function displays output in Python. - Variables are named containers for storing data like numbers or text.
Shift + Enteris your go-to shortcut for running a cell in Colab.
Common Mistakes to Avoid:
* Forgetting to run cells: Your code won't execute or update variables if you don't run the cell.
* Typos in variable names: Python is case-sensitive (myVar is different from myvar).
* Mixing up code and text cells: Don't try to run Python commands in a text cell.
* Not saving your work: Colab autosaves to Google Drive, but always double-check.
5. Now Try It
Your task is to write a short Python program in Google Colab that calculates your body mass index (BMI).
- Create a new Colab notebook.
- In a text cell, add a title: "My BMI Calculator".
- In code cells, define two variables:
weight_kg(your weight in kilograms) andheight_m(your height in meters). - Calculate
bmi = weight_kg / (height_m * height_m). - Print your height, weight, and calculated BMI in a user-friendly way. For example: "Your height is X meters, your weight is Y kg, and your BMI is Z."
What success looks like: You'll have a Colab notebook with a title, your Python code, and an output showing your calculated BMI.
Frequently asked about Introduction to Python and Google Colab Basics
Study this next
Get the full https://youtu.be/1_ZFWFFoPu8?si=YB9WaNXdbe0__Zz5 curriculum
Clone the complete plan to your dashboard for unlimited AI-generated notes, practice quizzes, and a personalised revision schedule.
Create Free Account