Reka Bentuk Mekanikal
From the Rbt curriculum
Reka Bentuk Mekanikal
TL;DR
Reka Bentuk Mekanikal is all about creating useful products by applying scientific principles and engineering know-how. You'll learn to identify problems, brainstorm solutions, and then design, prototype, and refine your mechanical creations. It's a hands-on process that combines creativity with systematic thinking to solve real-world challenges.
1. The Mental Model
Think of Reka Bentuk Mekanikal as a journey from a vague idea to a working product. You're like an inventor, but with a structured process that ensures your inventions are practical, safe, and efficient. It’s about making things that move, work, or serve a purpose.
2. The Core Material
Reka Bentuk Mekanikal (Mechanical Design) is a systematic approach to creating new products or improving existing ones. It involves several key stages, from understanding the need to producing a final solution.
2.1 Mengenal Pasti Masalah (Identifying the Problem)

Photo by Ann H on Pexels
Every good design starts with understanding a problem or a need. You can't design a solution if you don't know what you're trying to fix. This involves observing, interviewing users, and researching existing products. For instance, is a wheelchair difficult for users to transport? That's a problem.
2.2 Penjana Idea (Idea Generation)
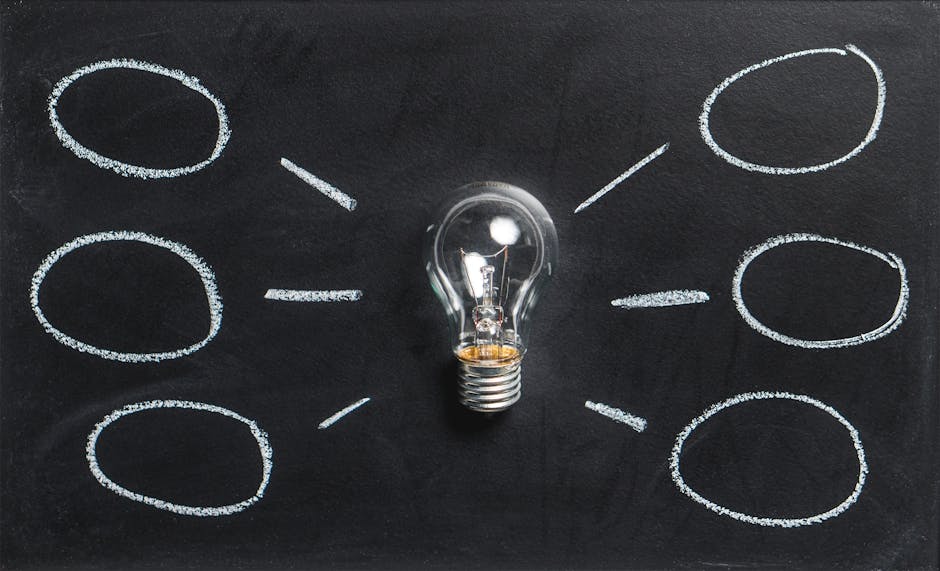
Photo by Pixabay on Pexels
Once you've nailed down the problem, it's time to brainstorm! This phase is about quantity over quality initially. Don't filter your ideas; just get them all down. Use techniques like sketching, mind mapping, or SCAMPER (Substitute, Combine, Adapt, Modify, Put to another use, Eliminate, Reverse/Rearrange). For the wheelchair example, ideas might include making it foldable, lighter materials, or detachable parts.
2.3 Pemilihan Idea (Idea Selection)

Photo by RDNE Stock project on Pexels
Now you need to pick the best idea (or a few strong ones) to develop further. You'll evaluate your brainstormed ideas based on criteria like feasibility, cost, safety, aesthetics, and how well they solve the original problem. A simple matrix can help you compare options.
2.4 Lakaran Perkembangan Idea (Developing Sketches/Concepts)
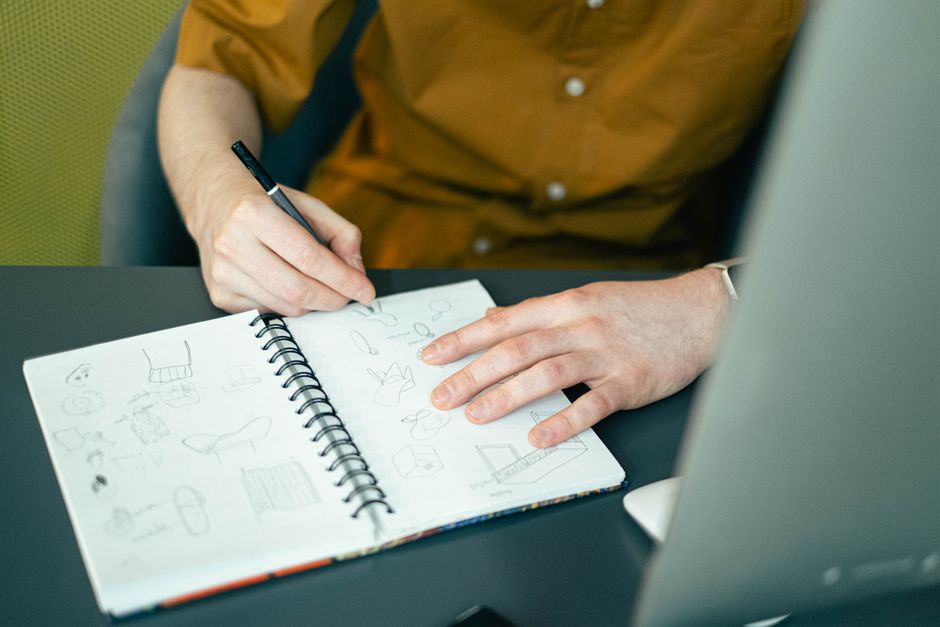
Photo by Ivan S on Pexels
This is where your chosen idea starts taking shape on paper (or digitally). Create detailed sketches from different angles, showing how the parts fit together and how it operates. Label key components and add notes about materials or mechanisms. These aren't just pretty pictures; they're functional drawings that help you visualize and refine your design.
2.5 Reka Bentuk Projek (Project Design)
With your developed sketches, you move into the more technical design phase. This involves:
* Pemilihan Bahan (Material Selection): Choosing the right materials based on strength, weight, cost, and specific application (e.g., aluminum for lightweight, steel for strength).
* Kaedah Pembinaan (Construction Methods): Deciding how the parts will be joined (welding, screws, glue, interlocking) and manufactured (cutting, molding, 3D printing).
* Elemen dan Sistem (Elements and Systems): Understanding how different mechanical elements like gears, levers, pulleys, or hydraulics will work together as a system.
2.6 Penilaian Reka Bentuk (Design Evaluation)
Before building, you need to critically assess your design. Will it work? Is it safe? Is it efficient? This can involve:
* Analisis Kekuatan (Strength Analysis): Will the parts withstand the forces they'll experience?
* Analisis Kos (Cost Analysis): Can it be produced within budget?
* Ulasan Rekabentuk (Design Review): Getting feedback from others.
2.7 Pembinaan Mock-up/Model/Prototaip (Building a Mock-up/Model/Prototype)
This is the physical manifestation of your design.
* A mock-up is a simple, non-functional representation to check appearance and ergonomics.
* A model might show some functional aspects but isn't necessarily full-scale or made of final materials.
* A prototype is a working version, often full-scale, made from similar materials, used for testing and refinement.
2.8 Pengujian dan Penambahbaikan (Testing and Improvement)
Once you have a prototype, you test it thoroughly against the original problem and design criteria. Does it solve the problem effectively? Are there any weaknesses? Based on test results, you'll make improvements and iterate on your design. This cycle of testing and refinement is crucial for a successful product.
Here's how the process flows:
graph TD
    A["Mengenal Pasti Masalah (Identify Problem)"] --> B["Penjana Idea (Generate Ideas)"]
    B --> C["Pemilihan Idea (Select Idea)"]
    C --> D["Lakaran Perkembangan Idea (Develop Sketches)"]
    D --> E["Reka Bentuk Projek (Project Design)"]
    E --> F["Penilaian Reka Bentuk (Evaluate Design)"]
    F --> G["Pembinaan Mock-up/Model/Prototaip (Build Prototype)"]
    G --> H["Pengujian dan Penambahbaikan (Test & Improve)"]
    H -- "Jika Perlu Penambahbaikan" --> E
    H -- "Jika Berjaya" --> I["Selesai (Completed Design)"]
3. Worked Example
Let's consider a common problem: "How can we make it easier for people to reach high shelves without needing a step stool or a ladder?"
-
Mengenal Pasti Masalah: Reaching high items is difficult and risky for shorter individuals or those with mobility issues. Existing solutions (stools, ladders) are often bulky, unstable, or require moving.
-
Penjana Idea:
- Long grabber tool.
- Shelf that lowers.
- Robotic arm.
- Wall-mounted, pull-down step.
- Extendable platform on wheels.
- Spring-loaded shoes.
-
Pemilihan Idea: The "long grabber tool" seems most feasible, safe, and cost-effective for a simple project. A spring-loaded shoe is too complex; a robotic arm is overkill.
-
Lakaran Perkembangan Idea: Sketch a telescopic pole with a gripping mechanism at the end. Show different views: extended, retracted, side view of the grip. Add labels for "locking mechanism," "telescopic sections," "grip jaws," "trigger handle."
-
Reka Bentuk Projek:
- Pemilihan Bahan: Aluminum for the pole (lightweight, strong), ABS plastic for the handle and grip jaws (durable, moldable). Rubber for grip pads.
- Kaedah Pembinaan: Telescopic sections secured by twist locks. Grip jaws actuated by a cable running through the pole, connected to a trigger.
- Elemen dan Sistem: Lever system for the trigger, cable-pull mechanism for jaws, friction-based twist lock for pole extension.
-
Penilaian Reka Bentuk:
- Kekuatan: Will the pole bend under the weight of an item? Will the jaws hold securely?
- Ergonomi: Is the handle comfortable? Is the trigger easy to squeeze?
- Keselamatan: Will it accidentally collapse? Can it pinch fingers?
- Kos: Can it be manufactured cheaply?
-
Pembinaan Prototaip: Build a working prototype using PVC pipes for the pole, 3D printed parts for the handle and jaws, and a fishing line for the cable.
-
Pengujian dan Penambahbaikan: Test the prototype. Can it pick up a jar of jam? How heavy an item? Does the pole wobble? Does the grip slip? If it slips, add textured rubber. If the pole wobbles, improve the locking mechanism. Based on tests, refine the design until it meets the initial goals.
4. Key Takeaways
- Always start by clearly defining the problem you're trying to solve.
- Brainstorming should be expansive; don't judge ideas prematurely.
- Sketches are crucial for visualizing and communicating your design concepts.
- Material selection and construction methods directly impact your product's functionality and cost.
- Prototypes help you test and identify flaws before full production.
- The design process is iterative; expect to refine and improve your design multiple times.
- Consider safety and user experience at every stage of design.
Common Mistakes to Avoid
- Jumping straight to a solution without fully understanding the problem.
- Falling in love with your first idea and not exploring alternatives.
- Neglecting to evaluate feasibility (cost, materials, manufacturing) early on.
- Skipping the prototyping and testing phases, leading to unexpected failures.
- Designing in isolation; not seeking feedback from potential users or peers.
5. Now Try It
Think of a simple problem you encounter in your daily life, like organizing your desk, carrying multiple items, or improving a kitchen utensil. Spend 15 minutes going through the first three steps of the Reka Bentuk Mekanikal process:
1. Mengenal Pasti Masalah: Clearly define the specific problem.
2. Penjana Idea: Brainstorm at least 5 different, distinct solutions to that problem.
3. Pemilihan Idea: Choose the best one, briefly explaining why you chose it based on practicality or effectiveness.
Success looks like: You have a clearly stated problem, a list of diverse ideas, and a chosen idea with a logical reason for its selection.
Frequently asked about Reka Bentuk Mekanikal
More from Rbt
Get the full Rbt curriculum
Clone the complete plan to your dashboard for unlimited AI-generated notes, practice quizzes, and a personalised revision schedule.
Create Free Account