Arduino UNO R3 Basics and First Program
TL;DR
The Arduino UNO R3 is a microcontroller board you can program to interact with electronic components. You'll learn its main parts and how to write a simple program to make an LED blink. This first program, "Blink," is your essential starting point for all future Arduino projects.
1. The Mental Model
Think of the Arduino UNO R3 as a tiny, simple computer that can sense things from the real world (like buttons or light sensors) and control things in the real world (like lights or motors). You give it instructions, and it follows them over and over again.
2. The Core Material
The Arduino UNO R3 is built around a microcontroller chip (the ATMega328P). This chip is the "brain." The board also provides power regulation, a USB interface for programming, and rows of "pins" where you connect external components.
2.1 Key Components of the Arduino UNO R3

Photo by Chengxin Zhao on Pexels
Let's look at the essential parts:
- USB Port: Used for both powering the board and uploading your programs from your computer.
- Power Jack: An alternative way to power the board, usually with a 9V or 12V adapter.
- Microcontroller (ATMega328P): The main chip that executes your code.
- Digital Pins (0-13): These pins can be set to HIGH (5V) or LOW (0V) to control things like LEDs, or read digital inputs like buttons. Some have special functions (e.g., PWM for dimming LEDs, Serial communication).
- Analog Input Pins (A0-A5): Used to read varying voltage levels from analog sensors (like temperature or light sensors).
- GND Pins: Ground pins, providing a common reference point (0V) for your circuits. Always connect your circuit's ground to an Arduino GND pin.
- 5V & 3.3V Pins: These supply regulated power to your external components.
- RESET Button: Resets the microcontroller, restarting your program from the beginning.
2.2 The Arduino IDE and Sketch Structure
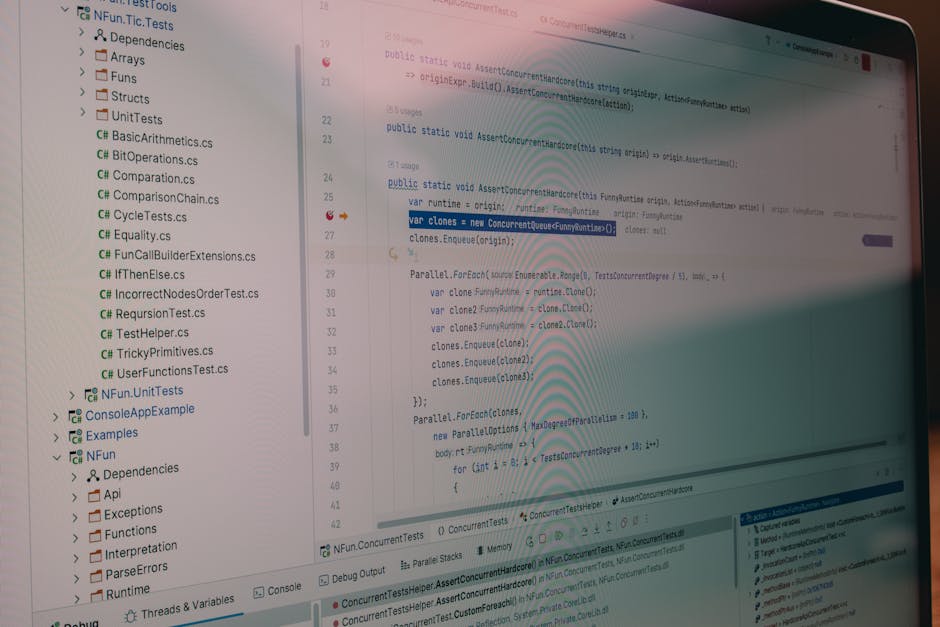
Photo by Daniil Komov on Pexels
You write your programs (called "sketches") in the Arduino Integrated Development Environment (IDE). Every Arduino sketch has two main parts:
setup(): This function runs once when the Arduino starts or resets. You use it to initialize pins (e.g., telling the Arduino if a pin is an input or an output) and other settings.loop(): This function runs continuously aftersetup()finishes. This is where your main program logic goes, instructing the Arduino what to do repeatedly.
Here's how a typical workflow looks:
graph TD
    A["Start IDE"] --> B["Write Code (Sketch)"]
    B --> C{"Compile?"}
    C -- "No" --> B
    C -- "Yes" --> D["Connect Arduino to PC"]
    D --> E["Select Board/Port"]
    E --> F["Upload Sketch"]
    F --> G{"Upload Successful?"}
    G -- "No" --> B
    G -- "Yes" --> H["Arduino Runs Code"]
    H -- "Resets/Powers On" --> H
2.2 Your First Program: "Blink"
The "Blink" sketch is the "hello world" of Arduino. It makes an LED connected to a specific pin turn on, wait, turn off, and wait again, repeating indefinitely.
// Define the pin number where the LED is connected
const int ledPin = 13; // Most Arduinos have a built-in LED on pin 13

void setup() {
  // Initialize digital pin 13 as an output.
  // This tells the Arduino that we want to control the voltage on this pin.
  pinMode(ledPin, OUTPUT);
}

void loop() {
  // Turn the LED on (HIGH means 5V)
  digitalWrite(ledPin, HIGH);
  // Wait for 1000 milliseconds (1 second)
  delay(1000);
  // Turn the LED off (LOW means 0V)
  digitalWrite(ledPin, LOW);
  // Wait for 1000 milliseconds (1 second)
  delay(1000);
}
const int ledPin = 13;: We create a constant variableledPinand assign it the value 13. This makes the code easier to read and modify.pinMode(ledPin, OUTPUT);: This function configuresledPin(which is 13) to act as an output.digitalWrite(ledPin, HIGH);: This sets the voltage onledPinto HIGH (5V), turning the LED on.delay(1000);: This pauses the program for 1000 milliseconds (1 second).digitalWrite(ledPin, LOW);: This sets the voltage onledPinto LOW (0V), turning the LED off.
3. Worked Example
Let's assume you've just opened the Arduino IDE.
- Open the Blink example: Go to
File > Examples > 01.Basics > Blink. A new window with the Blink sketch will open. - Select your board: Go to
Tools > Board > Arduino AVR Boards > Arduino Uno. - Select your Port: Go to
Tools > Port. You'll usually see a port likeCOMx(Windows) or/dev/cu.usbmodemxxxx(macOS). If you don't see one, plug in your Arduino UNO to your computer via USB. - Upload the sketch: Click the "Upload" button (the right arrow icon) in the IDE.
- Observe: The built-in LED on your Arduino UNO (usually labeled "L" and next to pin 13) should start blinking on and off every second.
This process compiles your code into machine instructions, then sends those instructions over the USB cable to the Arduino's microcontroller. The microcontroller then executes them, making the LED blink.
4. Key Takeaways
- The Arduino UNO R3 is a microcontroller board you can program to control electronics.
- It has digital pins (for on/off control) and analog pins (for reading varying voltages).
- Every Arduino sketch has
setup()(runs once) andloop()(runs repeatedly) functions. pinMode()configures a pin as anINPUTorOUTPUT.digitalWrite()sets a digital pin toHIGH(on) orLOW(off).delay()pauses program execution for a specified number of milliseconds.- The Arduino IDE is where you write, compile, and upload your programs.
Common Mistakes to Avoid:

Photo by KATRIN BOLOVTSOVA on Pexels
- Forgetting to select the correct board and port in the Arduino IDE before uploading.
- Not understanding the difference between
setup()andloop(). - Connecting components without referring to GND (ground).
- Placing semicolons after
setup()orloop()function definitions. - Trying to upload code without connecting the Arduino to the computer.
5. Now Try It
Modify the "Blink" sketch to make the LED blink faster. What to do: Change the delay() values from 1000 to 200 (for 200 milliseconds). Upload the new sketch to your Arduino UNO.
What success looks like: The LED on your Arduino UNO should now blink on and off much more rapidly, at a rate of 5 times per second.
Frequently asked about Arduino UNO R3 Basics and First Program
Study this next
Get the full foundational concepts of Arduino programming and a comprehensive catalog of common electronic components used in prototyping. The objective is to establish a baseline for building interactive electronic projects using the Arduino UNO R3 platform. curriculum
Clone the complete plan to your dashboard for unlimited AI-generated notes, practice quizzes, and a personalised revision schedule.
Save this course free