Setting Up the Arduino IDE for LCD I2C Programming
From the C-tech curriculum
TL;DR
You'll need to install the Arduino IDE, add the correct board support for your Arduino, and then install a specific library for I2C LCDs to get started. These steps ensure your Arduino can communicate with and control an I2C LCD display. Without them, your code won't compile or run correctly.
1. The Mental Model
Think of the Arduino IDE as your control center. To talk to different hardware like an I2C LCD, you need to load special instruction sets (libraries) and make sure the IDE knows which specific Arduino board you're using. It's like having the right map and language pack for your journey.
2. The Core Material
To program an I2C LCD with your Arduino, you need to perform three main setup steps within the Arduino IDE.
2.1. Install the Arduino IDE
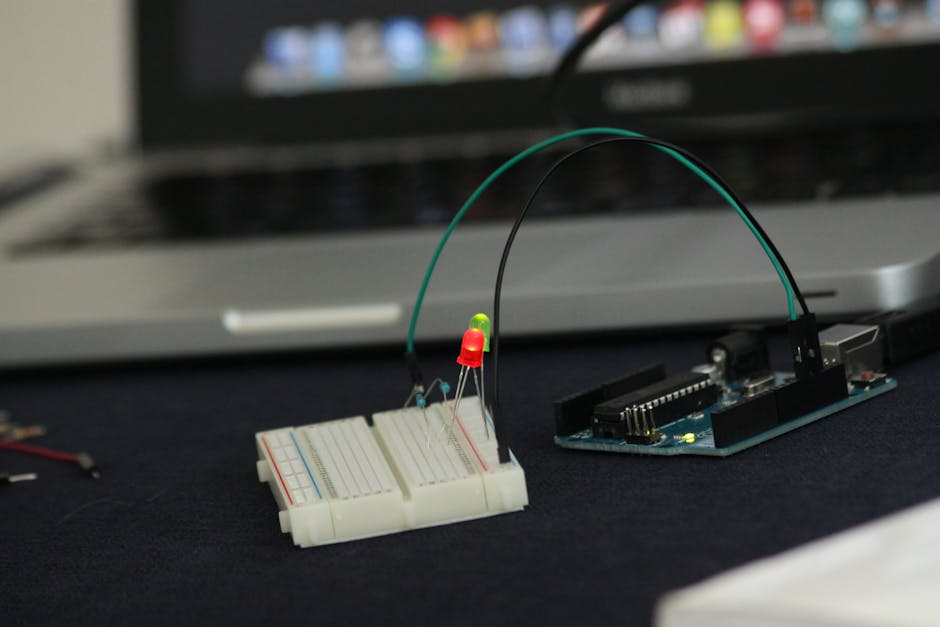
Photo by Marc Mueller on Pexels
First, if you haven't already, you need to download and install the Arduino IDE on your computer. It's the software where you'll write and upload your code.
- Go to the official Arduino website:
arduino.cc/en/software - Download the version appropriate for your operating system (Windows, macOS, Linux).
- Follow the installation instructions for your system.
2.2. Install Board Support
Photo by Mikhail Nilov on Pexels
The Arduino IDE needs to know which type of Arduino board you're using (e.g., Uno, Nano, ESP32).
- Open the Arduino IDE.
- Go to
Tools>Board>Boards Manager... - In the Boards Manager, search for your board. For example, if you're using an Arduino Uno, search for "AVR Boards" and install the
Arduino AVR Boardspackage. If you're using an ESP32, you'd search for and install theesp32package by Espressif. - After installation, select your specific board from
Tools>Board>[Your Board Family]>[Your Board Name]. For example,Tools>Board>Arduino AVR Boards>Arduino Uno.
2.3. Install the LiquidCrystal I2C Library

Photo by Tanha Tamanna Syed on Pexels
This is the crucial step for your I2C LCD. Standard LCD libraries don't work with I2C adapters, so you need a specialized one. The "LiquidCrystal I2C" library is widely used.
- Open the Arduino IDE.
- Go to
Sketch>Include Library>Manage Libraries... - In the Library Manager window, type "LiquidCrystal I2C" into the search bar.
- Look for the library named "LiquidCrystal I2C by Frank de Brabander" (or a similar popular version if that exact one isn't available, but this one is generally recommended).
- Click
Install.
This diagram shows the basic flow for setting up your environment:
graph TD
    A["Download & Install Arduino IDE"] --> B["Open Arduino IDE"];
    B --> C["Go to Tools > Board > Boards Manager..."];
    C --> D{"Search for and Install Your Board Support"};
    D --> E["Select Your Board (Tools > Board)"];
    E --> F["Go to Sketch > Include Library > Manage Libraries..."];
    F --> G{"Search for 'LiquidCrystal I2C'"};
    G --> H["Install 'LiquidCrystal I2C by Frank de Brabander'"];
    H --> I["Setup Complete! You're ready to code."];
3. Worked Example
Let's confirm the installation of the LiquidCrystal I2C library.
- Open your Arduino IDE.
- Go to
File>Examples. - Scroll down the list of examples.
- You should now see a category for "LiquidCrystal I2C".
- Expand it and click on
HelloWorld(or a similar basic example).
This will open a new sketch with pre-written code for an I2C LCD. If you see this example, your library installation was successful! You're now ready to connect your LCD and start programming.
// This is an example sketch that would open if you followed the steps above.
// It uses the LiquidCrystal I2C library to display "Hello, World!" on an I2C LCD.

#include <Wire.h> // Required for I2C communication
#include <LiquidCrystal_I2C.h> // The I2C LCD library

// Set the LCD address and dimensions (usually 0x27 or 0x3F, 16 columns, 2 rows)
// You might need to adjust the address (0x27) based on your specific LCD module.
LiquidCrystal_I2C lcd(0x27, 16, 2);

void setup() {
  // Initialize the LCD
  lcd.init();
  // Turn on the backlight
  lcd.backlight();
  // Print a message to the LCD.
  lcd.print("Hello, World!");
}

void loop() {
  // Nothing to do here in this simple example
}
4. Key Takeaways
- The Arduino IDE is your primary tool for writing and uploading code.
- You must install specific board support for your Arduino model to compile code correctly.
- An I2C LCD requires a special library, like "LiquidCrystal I2C by Frank de Brabander", distinct from the standard LiquidCrystal library.
- The Library Manager (
Sketch>Include Library>Manage Libraries...) is where you'll find and install most third-party libraries. - After installation, check the
File > Examplesmenu for the library's examples to confirm it's ready. - You'll likely need to know your I2C LCD's address (commonly
0x27or0x3F) for theLiquidCrystal_I2Cobject.
Common Mistakes to Avoid:
- Forgetting to select your specific Arduino board after installing its support package.
- Installing the standard LiquidCrystal library instead of the LiquidCrystal_I2C library for an I2C LCD.
- Not restarting the Arduino IDE after installing a library, sometimes it's needed for the changes to take effect.
- Not checking the File > Examples menu to confirm the library was correctly installed and recognized.
5. Now Try It
Install the "Adafruit SSD1306" library (for OLED displays) using the Library Manager.
What to do: Open the Arduino IDE, navigate to the Library Manager, search for "Adafruit SSD1306", and install it.
What success looks like: You should see "Adafruit SSD1306" appear as a new category under File > Examples, with several example sketches available. This confirms you've successfully installed another library for a different display type using the same process.
Frequently asked about Setting Up the Arduino IDE for LCD I2C Programming
Study this next
Get the full C-tech curriculum
Clone the complete plan to your dashboard for unlimited AI-generated notes, practice quizzes, and a personalised revision schedule.
Save this course free