The Battle of Hastings: Strategy, Tactics, and Forces
From the the battle of hastings curriculum
TL;DR
The Battle of Hastings was a clash between Norman invaders led by William the Conqueror and English forces under King Harold Godwinson, fought for control of England. William used a combined arms approach and feigned retreats to break the English shield wall, while Harold's exhausted but determined forces fought defensively from Senlac Hill. The Normans' superior cavalry and archers eventually overcame the English infantry, securing William's victory and the Norman conquest.
1. The Mental Model
Imagine two armies, one on a hill defending tightly, the other attacking uphill with a mix of fighters. The attackers need to break the defenders' strong formation, while the defenders need to hold their ground against relentless assaults. It's a test of endurance, discipline, and adapting to the evolving chaos of battle.
2. The Core Material
The Battle of Hastings, fought on October 14, 1066, was the decisive engagement in the Norman Conquest of England. Both sides had distinct strengths, weaknesses, and planned approaches.
Harold's English Forces: The Shield Wall
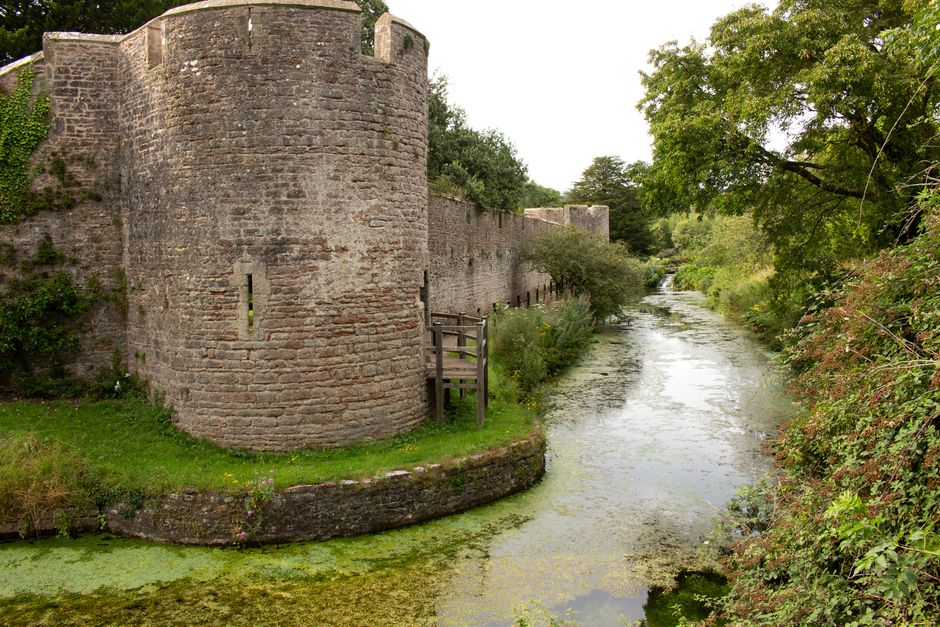
Photo by Victoria on Pexels
Harold's army was primarily composed of infantry, with a strong core of housecarls – professional, well-equipped soldiers armed with fearsome Danish axes. The rest were fyrdmen, citizen-soldiers called up for service, often less well-equipped.
- Strategy: Harold's strategy was defensive. He positioned his army atop Senlac Hill (now Battle, East Sussex), forming a tight shield wall. This formation made them incredibly difficult to dislodge, especially against cavalry charging uphill.
- Tactics: The shield wall involved soldiers standing shoulder-to-shoulder, interlocking their shields to create an almost impenetrable barrier. This allowed them to absorb cavalry charges and resist missile fire. Their main offensive tactic was to use their axes and spears in close quarters.
- Weaknesses: They lacked significant cavalry and archers, making them vulnerable to sustained missile attacks and unable to pursue retreating enemies effectively. Their discipline was crucial; if the shield wall broke, they were exposed. They were also exhausted from a forced march south after fighting the Battle of Stamford Bridge just weeks earlier.
William's Norman Forces: Combined Arms
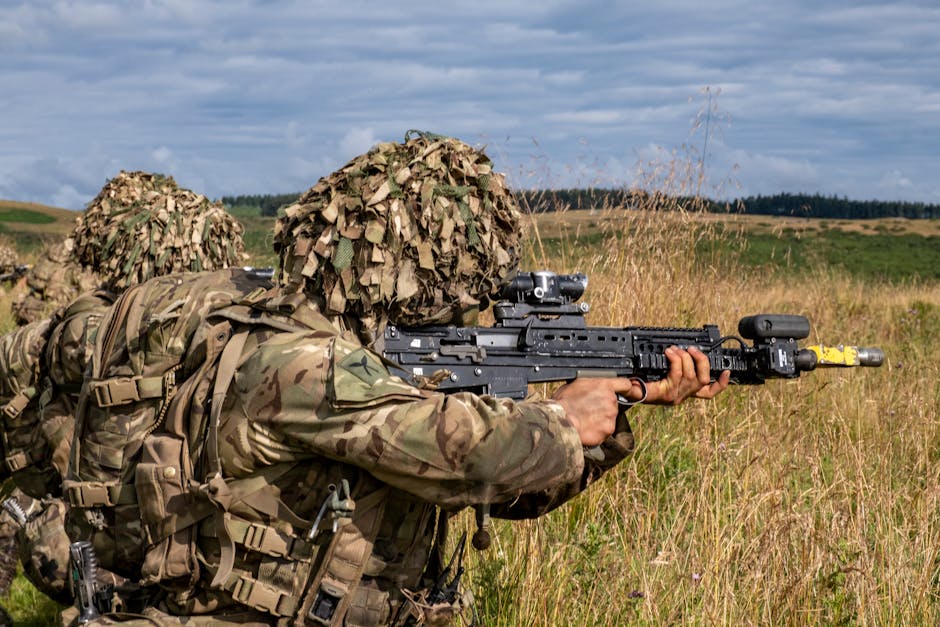
Photo by Mick Latter on Pexels
William's army was a more diverse, combined arms force, consisting of:
- Infantry: Foot soldiers, some with spears and shields, others with swords.
- Archers and Crossbowmen: Crucial for softening up the enemy and creating gaps.
-
Cavalry: Knights on horseback, heavily armored and equipped with lances and swords, designed for shock charges.
-
Strategy: William's strategy was to break the English shield wall and exploit any breaches. He needed to overcome the strong defensive position of the English.
- Tactics: William employed a mix of tactics:
- Initial Assaults: Repeated charges by infantry and cavalry against the shield wall.
- Archery Barrages: Archers would shoot arrows into the English ranks to weaken them and create confusion.
- Feigned Retreats: This controversial tactic involved Norman cavalry pretending to flee in disorder, drawing parts of the English line to break formation and pursue them down the hill. Once separated from the main shield wall, these pursuing English soldiers would be surrounded and cut down by the returning Norman cavalry. This tactic was repeated several times, gradually eroding the English formation.
- Strengths: Their combined arms approach allowed flexibility. Cavalry could charge, archers could provide support, and infantry could follow up. The mobility of the cavalry was a significant advantage.
- Weaknesses: Attacking uphill against a disciplined shield wall was inherently difficult and costly. Their initial charges failed to break the English line.
graph TD
    A["Harold's English Forces (Defensive)"] --> B["Position: Senlac Hill (Strong Defensive Position)"]
    A --> C["Formation: Shield Wall (Dense, Hard to Break)"]
    A --> D["Troops: Housecarls (Elite Axe Infantry), Fyrd (Militia Infantry)"]
    A --> E["Weakness: No Cavalry/Archers; Exhausted"]

    F["William's Norman Forces (Offensive)"] --> G["Strategy: Break Shield Wall"]
    F --> H["Troops: Cavalry (Knights), Archers/Crossbowmen, Infantry"]
    F --> I["Tactics:
        1. Direct Charges (Infantry/Cavalry)
        2. Archery Barrages
        3. Feigned Retreats (Draw Out English)"]
    F --> J["Strength: Combined Arms; Mobility"]

    C -- "Resists" --> I
    I -- "Gradually Weakens" --> C
    G --> K["Outcome: English Shield Wall Breaks, Harold Dies"]
    K --> L["Norman Victory"]
The Course of Battle

Photo by Peter Xie on Pexels
The battle lasted for most of the day. Norman cavalry charges and infantry assaults repeatedly crashed against the English shield wall, but it held firm for hours. Norman archers fired volleys, but the uphill angle and the shield wall minimized their effectiveness initially. The turning point came with the feigned retreats. Each time segments of the English forces pursued, they were cut down, gradually weakening the overall English line. As dusk approached, the shield wall, thinned and exhausted, finally began to buckle. The death of King Harold, likely struck by an arrow and then cut down by Norman knights, led to the collapse of English resistance.
3. Worked Example
Imagine a segment of the English shield wall near the center. For much of the day, Norman cavalry charges up the slope, lances lowered, thunder towards them. The English hold their ground, shields locked, axes ready. The Norman charge hits the wall, horses recoil, and men fight hand-to-hand in a brutal scrum. The English, in their tight formation, successfully fend off these direct assaults, inflicting heavy casualties on the Normans.
Then, a detachment of Norman cavalry on the flank appears to break and flee down the hill. Seeing this, a group of eager English fyrdmen, perhaps sensing victory or simply losing discipline after hours of fighting, break away from the main shield wall and pursue them. As they rush down the hill, the 'fleeing' Norman cavalry suddenly wheels around, re-forms, and charges back uphill, catching the isolated English in the open. Simultaneously, Norman infantry that had been feigning retreat joins the attack. The pursuing English, now exposed and out of formation, are quickly surrounded and slaughtered. This process, repeated across different sections of the English line, slowly but surely eroded Harold's defensive advantage.
4. Key Takeaways
- Harold's strategy relied entirely on the strength and discipline of his shield wall on a defensive position.
- William's strategy involved a flexible, combined-arms approach to gradually break down the English defense.
- The Norman use of archers and, critically, feigned retreats were key tactical innovations that countered the shield wall.
- The English lacked cavalry and effective missile troops, which limited their offensive capabilities and their ability to counter Norman tactics.
- The battle was long and hard-fought, demonstrating the resilience of both armies.
- Harold's personal leadership was vital; his death shattered English morale and organization.
- Fatigue from the Battle of Stamford Bridge likely played a role in the English forces' eventual collapse.
Common Mistakes to Avoid:
* Don't assume the English shield wall was easily broken; it held for most of the day against intense pressure.
* Don't oversimplify the "feigned retreat" as a simple trick; it required discipline from the Norman cavalry and exploited lapses in English discipline.
* Don't forget the importance of the terrain; Senlac Hill was a significant defensive advantage for the English.
* Don't underestimate the impact of Harold's death; it was a critical turning point that demoralized his troops.
5. Now Try It
Imagine you are William the Conqueror. You've tried direct charges and archery, but the English shield wall on Senlac Hill is holding firm. You need to break it. Outline a sequence of three tactical orders you would give to your commanders, explaining why each order is given, specifically addressing the challenge of the shield wall.
Success looks like: Your orders clearly show an understanding of the strengths of your combined forces and the weaknesses of the English position, leading towards a plan to disrupt their formation.
Frequently asked about The Battle of Hastings: Strategy, Tactics, and Forces
Study this next
Get the full the battle of hastings curriculum
Clone the complete plan to your dashboard for unlimited AI-generated notes, practice quizzes, and a personalised revision schedule.
Save this course free