Introduction to React and Vite
From the https://youtu.be/uxiT-hgSCkI?si=Q8S-RgGvc4GV3INL curriculum
TL;DR
React is a popular JavaScript library for building interactive user interfaces, especially single-page applications. Vite is a super-fast build tool that helps you quickly set up and run modern web projects, including React apps. Together, they create a powerful and efficient development environment for building web applications.
1. The Mental Model
Imagine you're building with LEGOs. React gives you reusable "bricks" (components) to build complex structures (UIs) by combining simpler ones. Vite is like a super-fast LEGO sorting machine and assembly line that gets your bricks ready and connected almost instantly.
2. The Core Material
React helps you manage how your web page looks and behaves by breaking it down into smaller, independent pieces called components. Each component is like a mini-app with its own logic and appearance. When data changes, React efficiently updates only the necessary parts of your UI, making your apps fast and responsive.
Vite, on the other hand, is a build tool. Before Vite, setting up a React project could be slow due to complex configurations and slow build times. Vite solves this with two key features:
- Fast Development Server: It uses native ES modules, meaning your browser handles much of the work directly, leading to incredibly fast reloads during development.
- Optimized Build for Production: When you're ready to deploy your app, Vite bundles your code efficiently for the best performance.
Let's look at how they work together:
graph TD
    A[Start New Project] --> B{Use Vite to scaffold}
    B --> C[Choose "react" template]
    C --> D[Install Dependencies]
    D --> E[Develop React Components]
    E -- Fast Feedback --> F[Vite Dev Server]
    F -- Code Changes --> E
    E --> G[Ready for Production]
    G --> H[Vite Builds Optimized App]
    H --> I[Deploy to Web]
Setting up a React Project with Vite
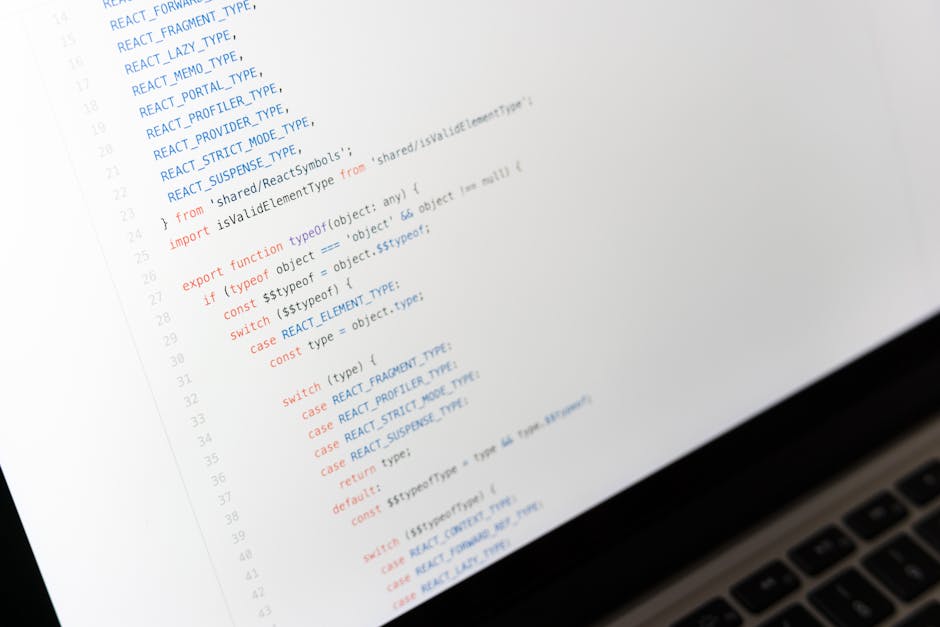
Photo by Markus Winkler on Pexels
To get started, you'll use npm (Node Package Manager) or yarn (another package manager) which comes with Node.js.
-
Create a Vite Project: You use Vite's command-line interface (CLI) to generate a new project.
bash
    npm create vite@latest my-react-app -- --template react
npm create vite@latest: This tellsnpmto run the latest version of Vite's project creation tool.my-react-app: This will be the name of your project folder.--template react: This specifically tells Vite to set up a project configured for React.
-
Navigate into your project:
bash cd my-react-app -
Install dependencies: Vite sets up a
package.jsonfile that lists all the necessary libraries (like React itself). You need to install them.
bash npm install -
Start the development server: This command launches a local server where you can see your app running and changes update instantly.
bash
    npm run dev
Usually, it'll tell you to openhttp://localhost:5173(or a similar port) in your browser.
React Components Basics

Photo by Meet Patel on Pexels
A basic React component is a JavaScript function that returns some JSX (a syntax extension for JavaScript that looks like HTML).
// src/App.jsx
import { useState } from 'react'; // This is a React Hook for state

function App() {
  const [count, setCount] = useState(0); // 'count' is a piece of state, 'setCount' updates it

  return (
    <div>
      <h1>Hello, React with Vite!</h1>
      <p>You clicked the button {count} times.</p>
      <button onClick={() => setCount(count + 1)}>
        Click me!
      </button>
    </div>
  );
}

export default App; // Makes this component available to other files
useState(0): This is a React Hook. It lets your component have "state" – data that can change and trigger your component to re-render. Here,countstarts at 0.onClick={() => setCount(count + 1)}: This is an event handler. When the button is clicked, it callssetCountto increasecountby 1. React then automatically re-renders the component to show the new count.
3. Worked Example
Let's say you want to build a simple counter application.
-
Set up your project:
bash npm create vite@latest my-counter-app -- --template react cd my-counter-app npm install -
Open
src/App.jsxin your code editor. Replace its contents with this code:```jsx
import { useState } from 'react';
import './App.css'; // Assuming you keep the default CSS for some basic stylingfunction App() {
// Declare a state variable 'count' and a function 'setCount' to update it
const [count, setCount] = useState(0);// Function to handle incrementing the count
const increment = () => {
setCount(count + 1);
};// Function to handle decrementing the count
const decrement = () => {
setCount(count - 1);
};return (
{/ className is used instead of class in React /}
Simple Counter
Count: {count}
Editsrc/App.jsxand save to test HMR
);
}export default App;
`` * Notice how we useuseStateto manage thecount. * We have two buttons, each with anonClickevent that calls eitherincrementordecrement. * Thecountvalue is displayed directly in the JSX. WhensetCountis called, React sees the change and updates only the part of the display showing thecount`. -
Run your app:
bash
    npm run dev
Open your browser to the URL provided (e.g.,http://localhost:5173). You'll see your counter! Click the buttons, and observe how the count updates without a full page refresh.
4. Key Takeaways
- React uses components, which are reusable pieces of UI code, to build complex interfaces.
- Vite is a modern build tool that provides a super-fast development server and optimized production builds.
- Together, React and Vite offer an efficient way to start and develop web applications.
npm create vite@latestis the command to quickly scaffold a new Vite project.- React components are JavaScript functions that return JSX, which looks like HTML.
useStateis a fundamental React Hook for adding dynamic data (state) to your components.- Changes in state trigger React to re-render only the necessary parts of your UI.
Common Mistakes to Avoid

Photo by KATRIN BOLOVTSOVA on Pexels
- Forgetting to run
npm installafter creating a new project. - Trying to modify the UI directly with traditional JavaScript DOM manipulation instead of letting React manage it through state.
- Forgetting
export defaultfor your main component, which makes it available for other files to import. - Using
classinstead ofclassNamefor CSS classes in JSX. - Not running
npm run devto start your development server.
5. Now Try It
Create a new React project with Vite called my-greeting-app. Modify the App.jsx file to display a simple greeting like "Hello, [Your Name]!" where "[Your Name]" is stored in a state variable. Add a button that, when clicked, changes the name in the greeting to something else (e.g., from "Alice" to "Bob").
Success looks like:
1. You have a new Vite React project running.
2. Your app displays "Hello, Alice!" (or your chosen initial name).
3. Clicking a button changes the greeting to "Hello, Bob!" (or your chosen new name).
Frequently asked about Introduction to React and Vite
Study this next
Get the full https://youtu.be/uxiT-hgSCkI?si=Q8S-RgGvc4GV3INL curriculum
Clone the complete plan to your dashboard for unlimited AI-generated notes, practice quizzes, and a personalised revision schedule.
Save this course free