Introduction to Technical Drawing and Drawing Instruments
From the Technical drawing curriculum
TL;DR
Technical drawing is a universal language using standardized lines and symbols to convey precise information about how to build or assemble things. It's crucial for engineering and manufacturing, ensuring everyone understands a design exactly the same way. You'll use specific instruments like T-squares, triangles, and compasses to create accurate and clear drawings.
1. The Mental Model
Think of technical drawing as a super-detailed map or a recipe for building something. It's not just a pretty picture; it tells you exact sizes, shapes, and materials, leaving no room for guesswork.
2. The Core Material
Technical drawing, also known as drafting, is the art and science of creating detailed, precise drawings that visually communicate how something functions or is constructed. Unlike artistic drawings, technical drawings follow strict rules and standards (like ISO or ANSI) so that anyone looking at them, anywhere in the world, can understand the design exactly.
Why is Technical Drawing Important?
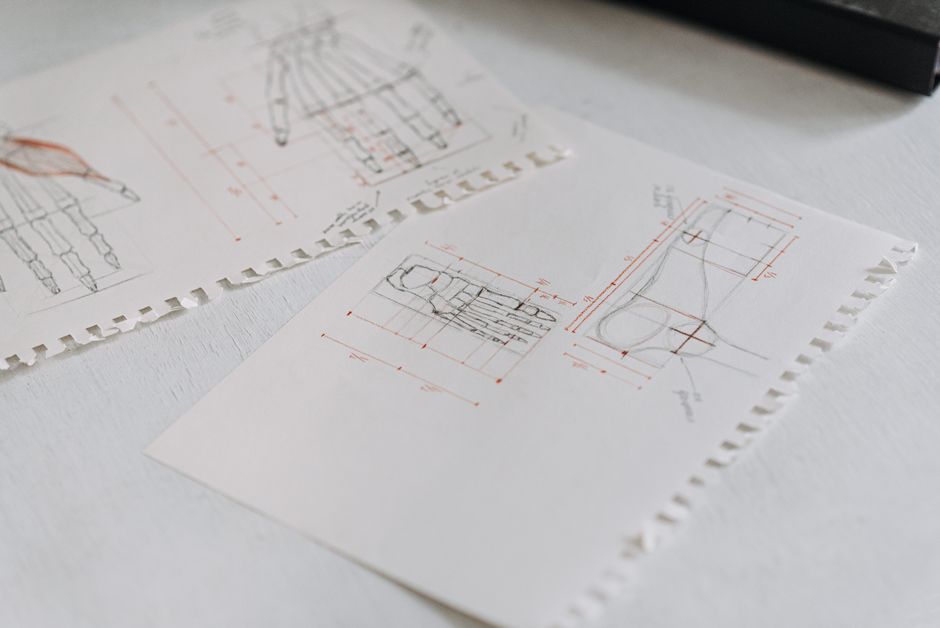
Photo by Anete Lusina on Pexels
Imagine trying to explain how to build a complex engine or a multi-story building using just words. It would be impossible to be precise enough. Technical drawings solve this by:
* Clarity: Providing an unambiguous representation of a design.
* Precision: Showing exact dimensions, tolerances, and material specifications.
* Communication: Acting as a common language among engineers, manufacturers, and technicians.
* Documentation: Serving as a legal record of the design.
Key Elements of a Technical Drawing

Photo by ROMBO on Pexels
While we'll dive deeper into these later, here are some fundamental elements you'll encounter:
* Lines: Different types of lines convey different meanings (e.g., solid for visible edges, dashed for hidden edges, thin for dimensions).
* Views: Usually, multiple views (like top, front, side) are shown to fully describe a 3D object on a 2D page.
* Dimensions: Numbers indicating sizes, distances, and angles.
* Annotations: Text notes explaining specific features or materials.
Essential Drawing Instruments
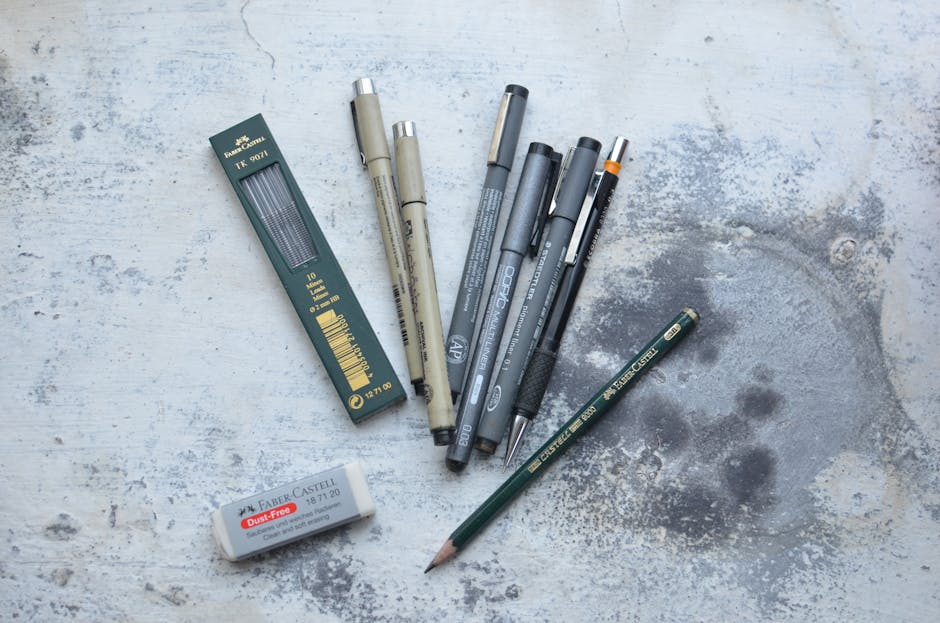
Photo by Skylar Kang on Pexels
To create accurate technical drawings, you'll need specific tools. Each instrument has a purpose in maintaining precision and consistency.
graph TD
    A["Drawing Board/Table"] --> B["T-Square/Parallel Rule"]
    B --> C1["Set Squares (Triangles)"]
    C1 --> D["Pencils (various hardnesses)"]
    D --> E["Compass"]
    D --> F["Divider"]
    F --> G["Protractor"]
    E --> H["Eraser & Erasing Shield"]
    H --> I["Drafting Tape/Clips"]
    I --> J["Templates (e.g., circles, curves)"]
- Drawing Board/Table: A smooth, flat surface where you attach your drawing paper. Many have parallel rules built-in.
- T-Square or Parallel Rule: The T-square has a head that slides along the edge of your drawing board, keeping the blade perfectly horizontal. A parallel rule performs the same function and is often found on modern drafting tables. They are essential for drawing straight, parallel horizontal lines.
- Set Squares (Triangles): These are triangular tools, usually in 30-60-90 degree and 45-45-90 degree combinations. You use them against the T-square or parallel rule to draw precise vertical and angled lines (e.g., 30°, 45°, 60°, 90°).
- Pencils: You'll need a range of lead hardnesses. Harder leads (like 2H, 4H) create light, thin construction lines, while softer leads (like HB, B, 2B) are used for dark, visible object lines. Mechanical pencils are often preferred for consistent line thickness.
- Compass: Used for drawing circles and arcs of various radii. It has one pointed leg and one leg for holding lead.
- Divider: Similar to a compass but with two pointed legs. It's used for transferring measurements or dividing lines into equal parts without marking the paper.
- Protractor: Measures and lays out angles.
- Eraser and Erasing Shield: A good quality eraser is a must. An erasing shield is a thin metal plate with various cutouts that lets you erase small areas without affecting nearby lines.
- Drafting Tape/Clips: To secure your drawing paper firmly to the board.
- Templates: Pre-cut shapes (circles, ellipses, French curves) that help you draw these complex forms accurately and quickly.
3. Worked Example
Let's say you need to draw a simple rectangular plate with a hole in the center.
- Secure your paper: Tape your drawing paper to the drawing board using drafting tape, ensuring it's straight and aligned with the T-square.
- Draw horizontal lines: Use your T-square (or parallel rule) to draw two parallel horizontal lines for the top and bottom edges of the plate.
- Draw vertical lines: Place a set square (e.g., 45-45-90) against the T-square and slide it to draw two parallel vertical lines, completing the rectangle. Use a light, construction line (e.g., 2H pencil) for these initial lines.
- Find the center: Use a ruler to find the midpoint of the horizontal and vertical lines, drawing very light crossing lines to mark the center of the plate. This will be the center of your hole.
- Draw the hole: Set your compass to the desired radius of the hole (e.g., 10mm). Place the compass's pivot point at the center you marked and draw the circle.
- Darken final lines: Go over the final outline of the plate and the circle using a darker pencil (e.g., HB or B) to make them stand out. Erase any excess construction lines.
4. Key Takeaways
- Technical drawing is a precise visual language for design and manufacturing.
- It uses standardized lines, symbols, and views to convey exact information.
- Specific instruments ensure accuracy, consistency, and clarity in drawings.
- A T-square/parallel rule and set squares are fundamental for straight and angled lines.
- Pencils of varying hardness are used for different line types (light construction vs. dark object lines).
- A compass is essential for drawing accurate circles and arcs.
Common Mistakes to Avoid

Photo by KATRIN BOLOVTSOVA on Pexels
- Not securing paper: Paper that moves leads to wavy, inaccurate lines.
- Using a blunt pencil: Always sharpen your pencil for crisp, clean lines.
- Pressing too hard with construction lines: Keep them very light so they're easy to erase or don't distract.
- Inconsistent line weight: Different lines mean different things; don't make all lines the same thickness.
- Not cleaning your instruments: Dust and graphite smudges can transfer to your drawing.
5. Now Try It
Using your drawing board, T-square/parallel rule, a 45-degree set square, a compass, and two pencils (one light like 2H, one dark like HB):
1. Draw a 100mm x 50mm rectangle using light lines.
2. Find the exact center of this rectangle.
3. From the center, draw a circle with a 20mm radius.
4. Now, darken only the perimeter of the rectangle and the circle with your darker pencil.
5. Success looks like a neat rectangle with a perfectly centered circle, where the initial construction lines are barely visible.
Frequently asked about Introduction to Technical Drawing and Drawing Instruments
Study this next
Get the full Technical drawing curriculum
Clone the complete plan to your dashboard for unlimited AI-generated notes, practice quizzes, and a personalised revision schedule.
Save this course free