Biological Drawing and Scientific Communication
From the Cells Structure curriculum
Biological Drawing and Scientific Communication
TL;DR
Biological drawings are simplified, accurate representations of specimens, focusing on key features and relationships. They're essential for scientific communication, allowing you to clearly convey observations without ambiguity. Mastering these skills helps you record data precisely and share your findings effectively.
1. The Mental Model
Think of biological drawing as visual note-taking that highlights what's important and ignores clutter. It's about translating a 3D object into a clear 2D diagram, focusing on structure, proportion, and relative positions of parts.
2. The Core Material
Biological drawing and clear scientific communication are fundamental skills in any science course. You'll use them to record observations, document experiments, and present your findings.
2.1 Why Bother with Drawings?
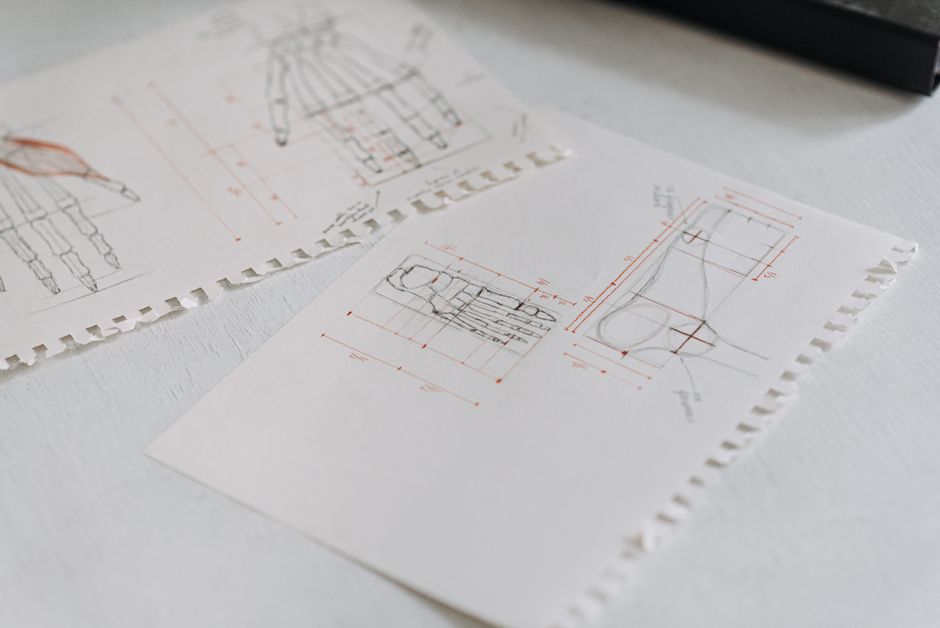
Photo by Anete Lusina on Pexels
Photos can be great, but they often show too much detail, have poor contrast, or don't highlight the specific features you're studying. A good biological drawing:
* Simplifies: Omits distracting backgrounds and unnecessary details.
* Emphasizes: Highlights the structures you're focusing on.
* Clarifies: Shows relationships and proportions more clearly than a photo might.
* Forces Observation: The act of drawing makes you look much more closely at your specimen.
2.2 Key Principles of Biological Drawing
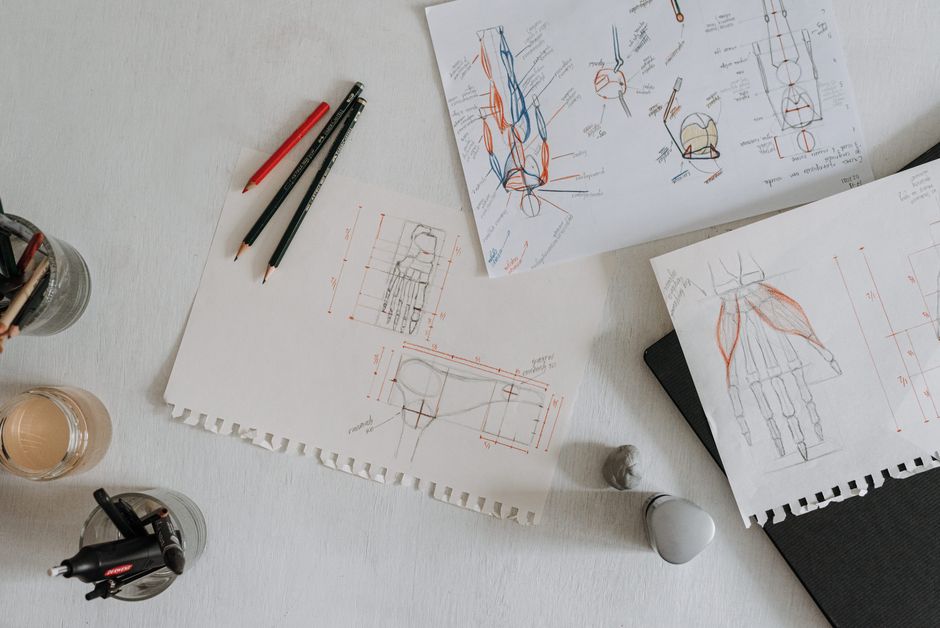
Photo by Anete Lusina on Pexels
- Use a Sharp Pencil (HB or 2B): For clear, dark lines.
- Draw Large: Fill a significant portion of your page to allow for detail and labeling.
- Use Clean, Continuous Lines: No sketching, shading (unless specifically asked for), or fuzzy lines.
- Show Proportions Accurately: The relative size of parts should be correct.
- Label Clearly: Use uncrossed, horizontal lines pointing precisely to the structure. Labels should be printed neatly.
- Include a Title: Descriptive and specific.
- Indicate Magnification: If drawn from a microscope, state the objective lens used or calculate total magnification.
- Add a Scale Bar: This is crucial for showing the actual size of the specimen you've drawn.
2.3 Calculating Magnification and Scale Bars

Photo by RDNE Stock project on Pexels
- Total Magnification: Ocular lens magnification $\times$ Objective lens magnification. (e.g., 10x ocular $\times$ 40x objective = 400x total magnification).
- Scale Bar: To draw a scale bar, you need to know the actual size of something in your field of view (e.g., if you know the diameter of the field of view).
- Image Size (of structure in drawing): Measure this with a ruler on your drawing.
- Actual Size (of structure in real life): This is the real measurement.
- Magnification = Image Size / Actual Size
- Alternatively, you can calculate the length of a scale bar. If your drawing is 200x magnified, and you want to show 10 µm, then on your drawing, 10 µm would be represented by 10 µm * 200 = 2000 µm = 2 mm. So, a 2 mm line would be labeled "10 µm".
2.4 Scientific Communication Principles

Photo by Markus Winkler on Pexels
Good scientific communication isn't just about drawing; it's about clarity, accuracy, and conciseness in all forms – written, spoken, and visual.
* Precision: Use specific, unambiguous language.
* Objectivity: Present facts and observations without bias.
* Conciseness: Get to the point; avoid unnecessary words or jargon.
* Organization: Structure your information logically (e.g., Introduction, Methods, Results, Discussion).
Here's a simple flow for creating a good biological drawing:
graph TD
    A["Observe Specimen Closely"] --> B{"Identify Key Structures?"};
    B -- Yes --> C["Sketch Lightly (Proportions)"];
    C --> D["Draw Final Continuous Lines"];
    D --> E["Erase Sketch Lines"];
    E --> F["Add Title, Magnification"];
    F --> G["Add Labels (Straight, Uncrossed Lines)"];
    G --> H["Add Scale Bar"];
    H --> I["Review for Accuracy/Clarity"];
    B -- No --> A;
3. Worked Example
Let's say you're looking at an onion epidermal cell under a microscope.
* Objective lens: 40x
* Ocular lens: 10x
* Total magnification: 400x
You observe a roughly rectangular cell with a distinct cell wall, cytoplasm, and nucleus.
Drawing Process:
1. Observe: Look carefully at the cell, noting its shape and internal structures.
2. Sketch: Lightly draw the outer boundary of one or two cells, paying attention to the rectangular shape and the thickness of the cell wall. Then, lightly sketch the nucleus within the cytoplasm.
3. Final Lines: Go over your sketch with firm, continuous lines. Make the cell wall a clear double line. Draw the nucleus as an oval.
4. Erase: Gently erase any light sketch lines.
5. Labels: Draw straight, uncrossed lines from the structures to the margin. Print "Cell wall", "Cytoplasm", "Nucleus".
6. Title: "Drawing of Onion Epidermal Cell"
7. Magnification: Write "Total Magnification: 400x"
8. Scale Bar: You measure the length of your drawn cell on paper as 20 mm. You know an actual onion cell is about 0.05 mm (50 µm) long.
* Your drawing magnification for this specific cell is 20 mm / 0.05 mm = 400x.
* If you want to represent 20 µm (0.02 mm) with a scale bar:
* Length on drawing = 0.02 mm * 400 = 8 mm.
* So, you draw an 8 mm line and label it "20 µm".
4. Key Takeaways
- Biological drawings simplify complexity to highlight specific features.
- Accuracy in proportion, structure, and relative position is paramount.
- Clear, continuous lines, precise labels, and a descriptive title are essential components.
- Always include magnification and a scale bar to provide context for size.
- Good scientific communication prioritizes precision, clarity, and conciseness.
- The act of drawing itself enhances your observational skills.
Common mistakes to avoid:
* Sketchy lines or shading: Use single, clear lines unless otherwise instructed.
* Tiny drawings: Don't draw too small; fill the space given.
* Messy labels: Ensure label lines don't cross and text is legible.
* Missing magnification or scale: These are crucial for understanding size.
* Including non-relevant details: Focus only on the specimen and its observable features.
5. Now Try It
Find a simple plant leaf (e.g., from a houseplant or outside). Spend 15 minutes carefully observing it. Then, draw a detailed biological diagram of one side of the leaf. Focus on its overall shape, the vein pattern, and any surface textures you can see with your naked eye. Ensure you include a descriptive title and label at least three distinct features (e.g., main vein, midrib, petiole, margin). When you're done, check if your drawing clearly communicates the leaf's appearance without any unnecessary clutter.
Frequently asked about Biological Drawing and Scientific Communication
Study this next
Get the full Cells Structure curriculum
Clone the complete plan to your dashboard for unlimited AI-generated notes, practice quizzes, and a personalised revision schedule.
Create Free Account