Rigid Body Equilibrium (Statics - Part 2)
From the Basic mechanics curriculum
TL;DR
Building on previous statics concepts, this note focuses on analyzing rigid bodies in 2D to ensure they remain still. You'll learn how to apply equilibrium equations to solve for unknown forces and moments. We'll specifically look at different support types and their associated reactions.
1. The Mental Model
Imagine you're trying to figure out why a bridge isn't falling down, or how a crane stays upright while lifting a heavy load. It's all about ensuring the forces pushing and pulling, and the twisting effects, all balance out to zero.
2. The Core Material
In Rigid Body Equilibrium, we're dealing with objects that don't deform and aren't moving (or are moving at a constant velocity, but for statics, we usually assume not moving at all). This means the net force and net moment acting on the body must be zero.
The Equations of Equilibrium

Photo by Jeswin Thomas on Pexels
For a 2D system, we have three primary equations:
1. Sum of forces in the x-direction is zero: $\sum F_x = 0$
2. Sum of forces in the y-direction is zero: $\sum F_y = 0$
3. Sum of moments about any point is zero: $\sum M_O = 0$
These three equations allow us to solve for up to three unknown forces or moments in a 2D problem.
Free-Body Diagrams (FBDs) Revisited

Photo by MART PRODUCTION on Pexels
Before solving, you must draw a clear Free-Body Diagram. This diagram isolates the rigid body from its surroundings and shows all external forces and moments acting on it, including:
* Applied loads (weights, pushes, pulls)
* Support reactions (which we'll detail next)
* The weight of the body itself (acting through its center of gravity, if significant)
Support Reactions
Different types of supports prevent motion in different ways, leading to specific reaction forces or moments. Knowing these is crucial for drawing accurate FBDs.
graph TD
    A["Support Types"] --> B["Pin Support"];
    A --> C["Roller Support"];
    A --> D["Fixed Support"];
    B --> B1["Prevents translation X & Y"];
    B --> B2["Allows rotation"];
    B1 --> B3["Two unknown force components (Rx, Ry)"];
    C --> C1["Prevents translation perpendicular to surface"];
    C --> C2["Allows translation parallel to surface"];
    C --> C3["Allows rotation"];
    C1 --> C4["One unknown force component (normal force)"];
    D --> D1["Prevents translation X & Y"];
    D --> D2["Prevents rotation"];
    D1 --> D3["Two unknown force components (Rx, Ry)"];
    D2 --> D4["One unknown moment (M)"];
- Pin Support: This acts like a hinge. It prevents the body from moving horizontally and vertically, but allows it to rotate. So, it introduces two unknown force components (one horizontal, one vertical).
- Roller Support: This support allows the body to move freely along the surface it rests on and to rotate, but it prevents movement perpendicular to the surface. It introduces one unknown force component, perpendicular to the surface.
- Fixed Support (Cantilever): This is the strongest type, like a beam embedded in a wall. It prevents horizontal movement, vertical movement, and rotation. It introduces two unknown force components and one unknown moment.
- Cable/Rope: A cable can only pull, never push. It introduces one unknown tensile force, acting along the line of the cable.
- Smooth Surface: Prevents penetration, so it exerts one normal force perpendicular to the surface. No friction.
Strategy for Solving Equilibrium Problems
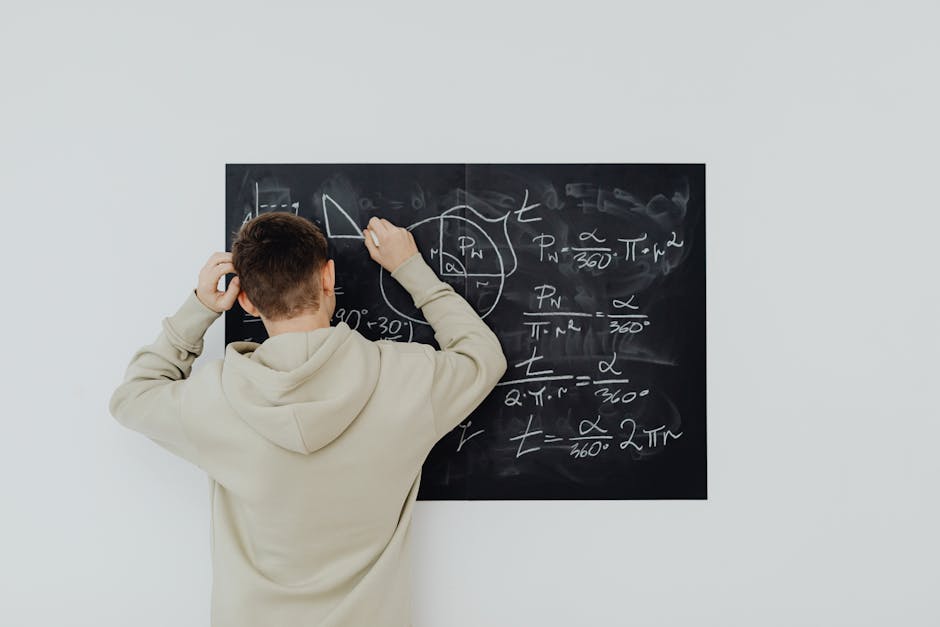
Photo by https://kaboompics.com/ on Pexels
- Draw a clear FBD: Isolate the body, show all known forces, and assume directions for unknown reactions. If your assumed direction is wrong, your calculated value will simply be negative.
- Choose a convenient coordinate system: Often, x-y coordinates are best. Align an axis with a force if it simplifies things.
- Apply the equilibrium equations:
- $\sum F_x = 0$
- $\sum F_y = 0$
- $\sum M_O = 0$ (Choose a point 'O' where many unknown forces pass through to eliminate them from the moment equation, simplifying calculations).
- Solve the system of equations: You'll typically have 3 equations and 3 unknowns for 2D problems.
3. Worked Example
Let's find the support reactions for a 4-meter beam weighing 100 N/m (uniformly distributed load) that is pinned at point A and supported by a roller at point B. A concentrated load of 500 N is applied 1 meter from B.
-
FBD:
- Draw the beam.
- At A (pin): Draw $A_x$ (horizontal reaction, assume right) and $A_y$ (vertical reaction, assume up).
- At B (roller): Draw $B_y$ (vertical reaction, assume up).
- Distributed load: Convert the 100 N/m over 4m to a single equivalent force of $100 \text{ N/m} \times 4 \text{ m} = 400 \text{ N}$. This acts at the centroid of the distributed load, which is 2m from A (or 2m from B).
- Concentrated load: 500 N, 1m from B (so 3m from A).
-
Equations of Equilibrium:
-
$\sum F_x = 0$:
$A_x = 0$ (There are no other horizontal forces). -
$\sum M_A = 0$ (Sum moments about A to eliminate $A_x$ and $A_y$):
Let's assume counter-clockwise moments are positive.
$(400 \text{ N})(2 \text{ m}) - (500 \text{ N})(3 \text{ m}) + B_y(4 \text{ m}) = 0$
$800 \text{ Nm} - 1500 \text{ Nm} + 4B_y \text{ m} = 0$
$-700 \text{ Nm} + 4B_y \text{ m} = 0$
$4B_y \text{ m} = 700 \text{ Nm}$
$B_y = 175 \text{ N}$ (Since $B_y$ is positive, our assumed upward direction was correct). -
$\sum F_y = 0$:
$A_y + B_y - 400 \text{ N} - 500 \text{ N} = 0$
$A_y + 175 \text{ N} - 400 \text{ N} - 500 \text{ N} = 0$
$A_y - 725 \text{ N} = 0$
$A_y = 725 \text{ N}$ (Since $A_y$ is positive, our assumed upward direction was correct).
-
So, the reactions are $A_x = 0 \text{ N}$, $A_y = 725 \text{ N}$ (up), and $B_y = 175 \text{ N}$ (up).
4. Key Takeaways
- Always start with a well-drawn Free-Body Diagram showing all known and unknown forces/moments.
- Remember the three equilibrium equations for 2D analysis: sum of forces in X, sum of forces in Y, and sum of moments.
- Correctly identify the number and direction of reaction forces/moments for each support type.
- Choose your moment center wisely, often at a point where several unknown forces pass through, to simplify calculations.
- A negative result for an unknown reaction simply means its true direction is opposite to what you assumed on your FBD.
- Distributed loads must be replaced by an equivalent single resultant force acting at their centroid for moment calculations.
Common Mistakes to Avoid:
- Forgetting to include the body's own weight if it's significant.
- Incorrectly identifying support reactions (e.g., forgetting a moment reaction for a fixed support).
- Not converting distributed loads to a single resultant force before calculating moments.
- Summing moments about a point that doesn't simplify the equations.
- Sign errors when setting up the moment equation (clockwise vs. counter-clockwise).
5. Now Try It
A 6-meter uniform beam weighs 200 N/m. It's fixed at one end (A) and free at the other. There's a downward vertical load of 1000 N applied at the free end (B). Your task is to find all the support reactions at the fixed end (A). Draw the FBD, apply the equilibrium equations, and determine the values and directions of the unknown reactions. Success means you've correctly identified $A_x$, $A_y$, and the moment $M_A$.
Try it yourself: The Haber process simulator
Frequently asked about Rigid Body Equilibrium (Statics - Part 2)
Study this next
Get the full Basic mechanics curriculum
Clone the complete plan to your dashboard for unlimited AI-generated notes, practice quizzes, and a personalised revision schedule.
Save this course free